Day 5. Flexbox Tutorial
Flexbox is just 8 properties that will greatly expand your possibilities as a designer.
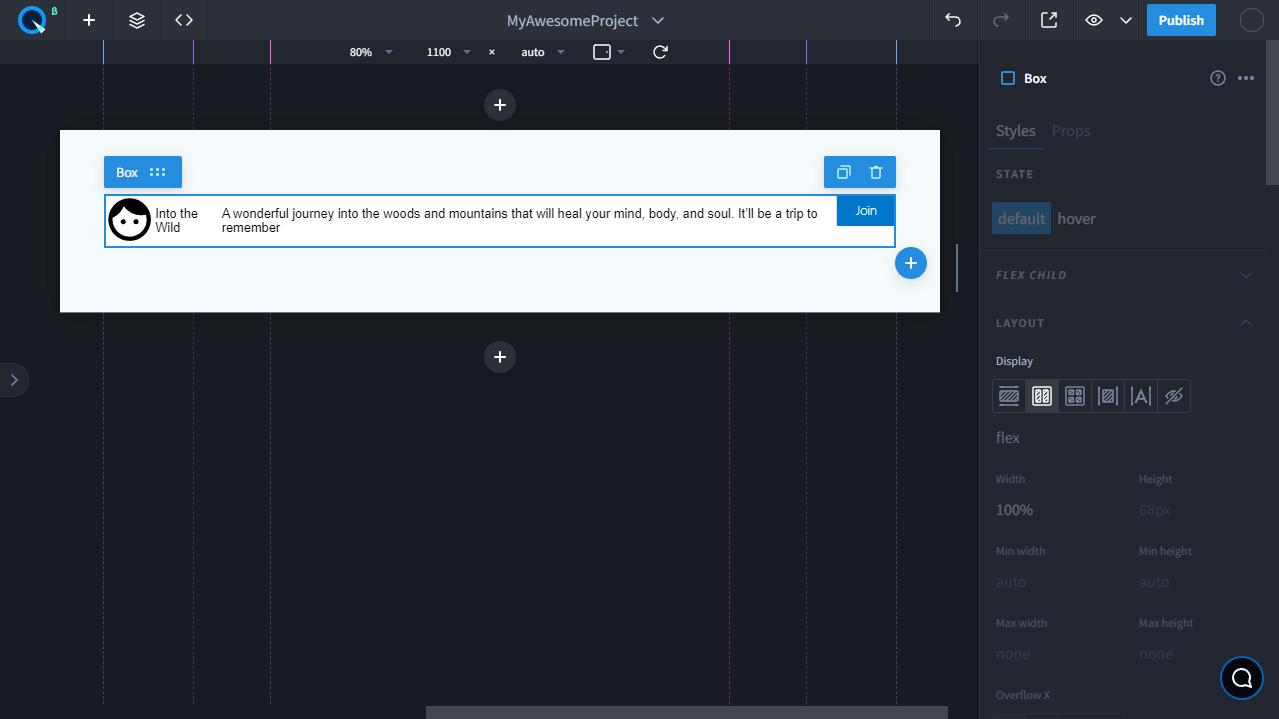
Add a few elements#
Add a Box first, and inside it add the following one by one:
- Icon
- Text
- One more Text
- Button
Change the element content and styles#
CTRL + Сlick (or ⌘ + Click on MacOs) on the text and button elements to change their content according to the example.
Display Flex#
Select Box and change the Display property in the Layout section to Flex.
Children wrap#
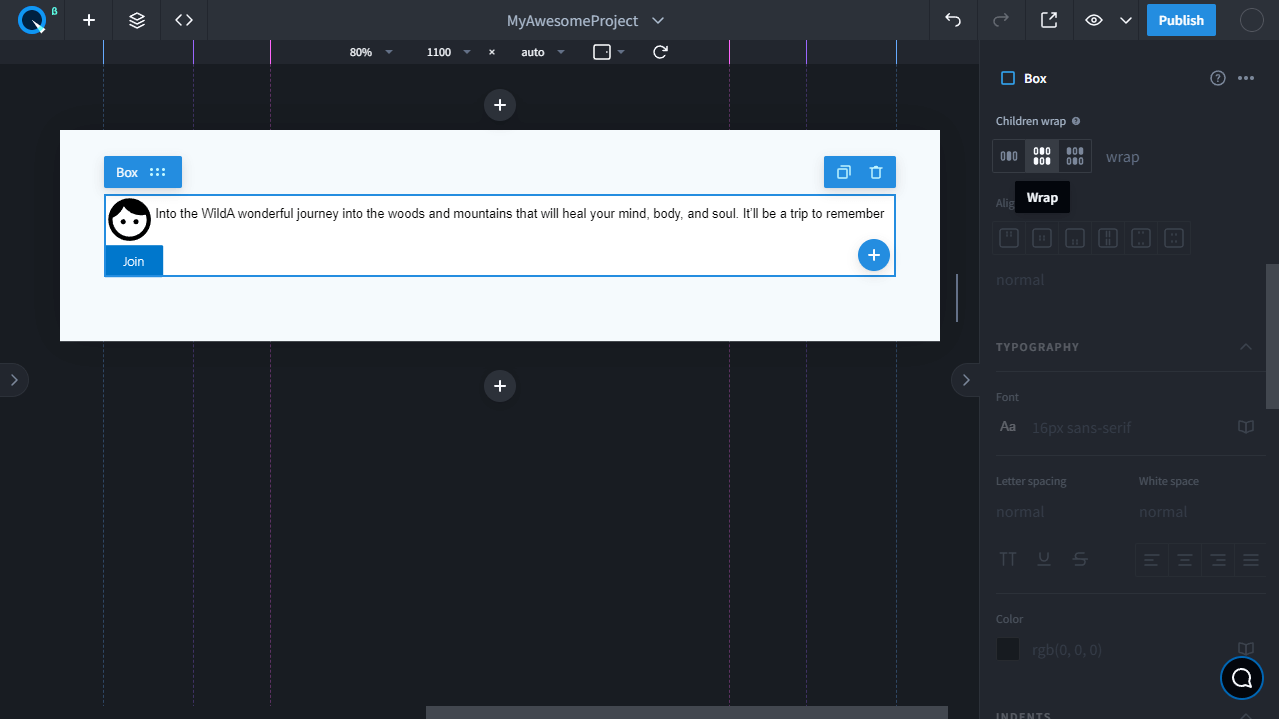
This property controls the transfer of elements when they don't fit. Select Box and change the Children wrap to wrap. Now the elements can be moved.
Direction#
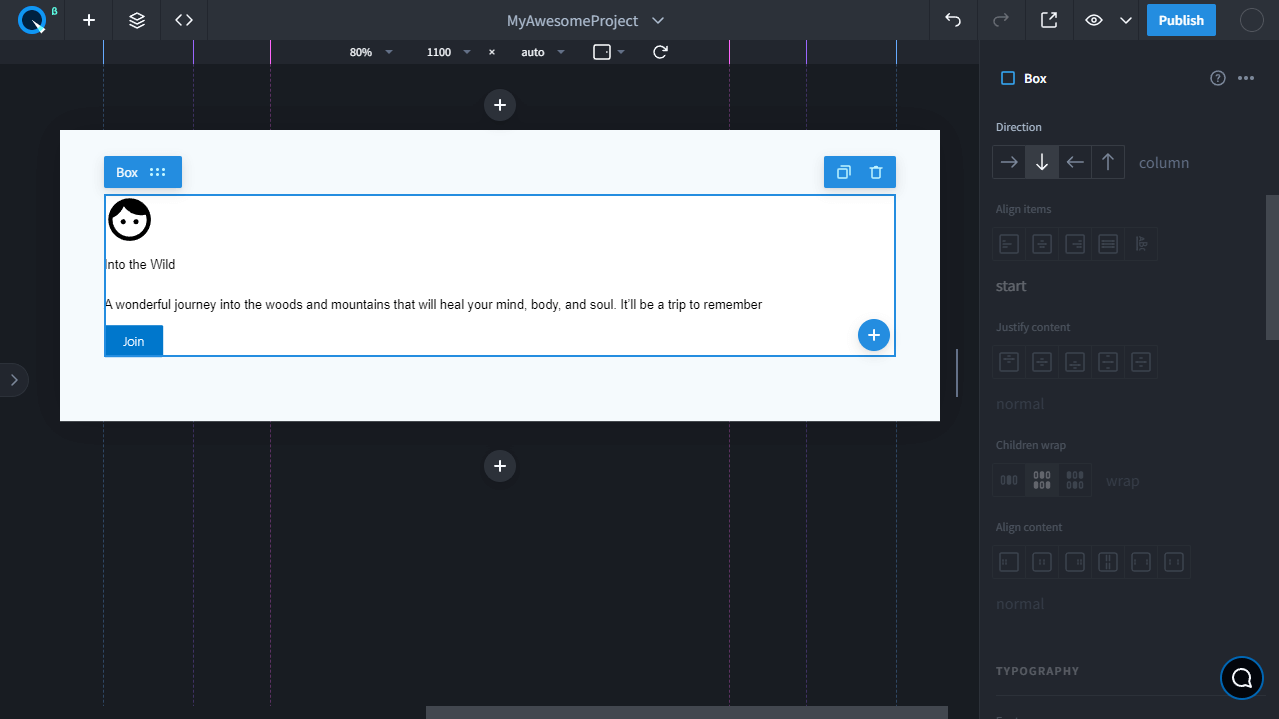
This property defines the direction of the elements in the Flex container along the main axis: in a column or in a row.
- By default, the row value is applied. This value displays the nested elements horizontally, from left to right.
- Let's set the column value for our Box. It means that the elements are arranged vertically, from top to bottom.
Justify content#
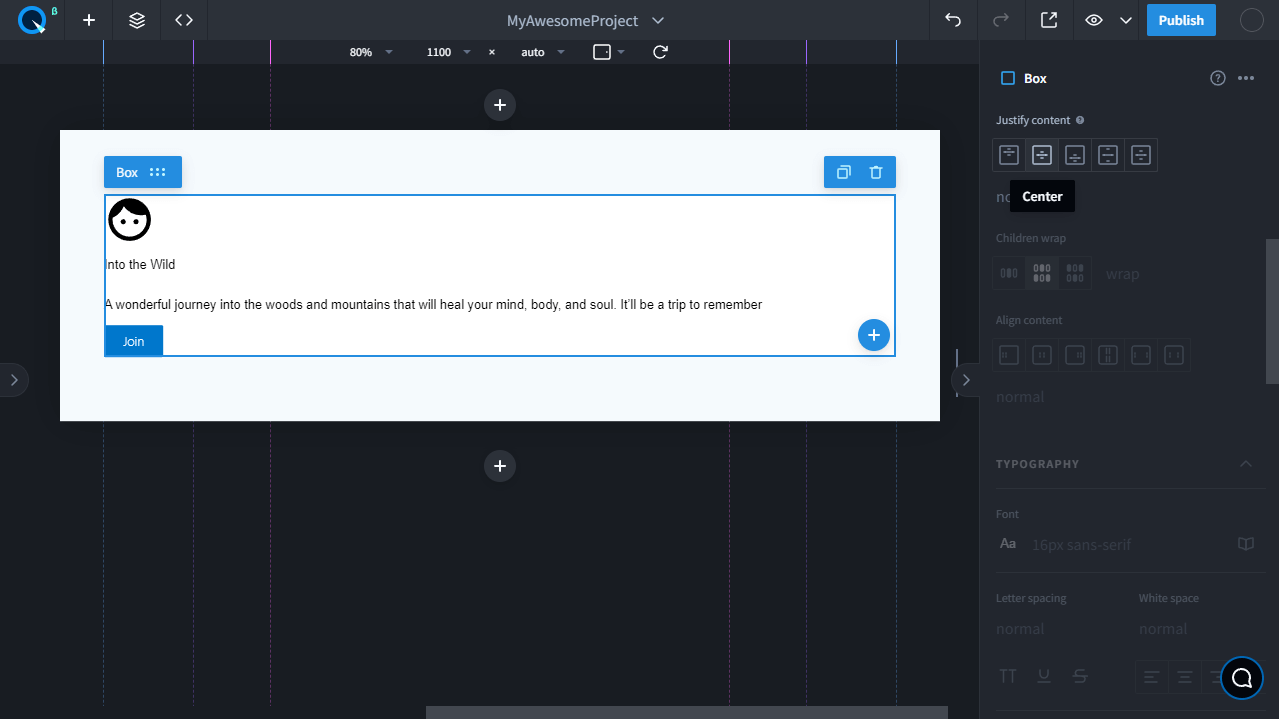
This property defines how the space around the nested elements will be organized along the main axis of the Flex container.
- By default, the normal value is applied. Let's set the center value as an example.
- Now the nested elements are aligned to the center of the vertical axis.
- Try other values to figure out what the options are.
Align items#
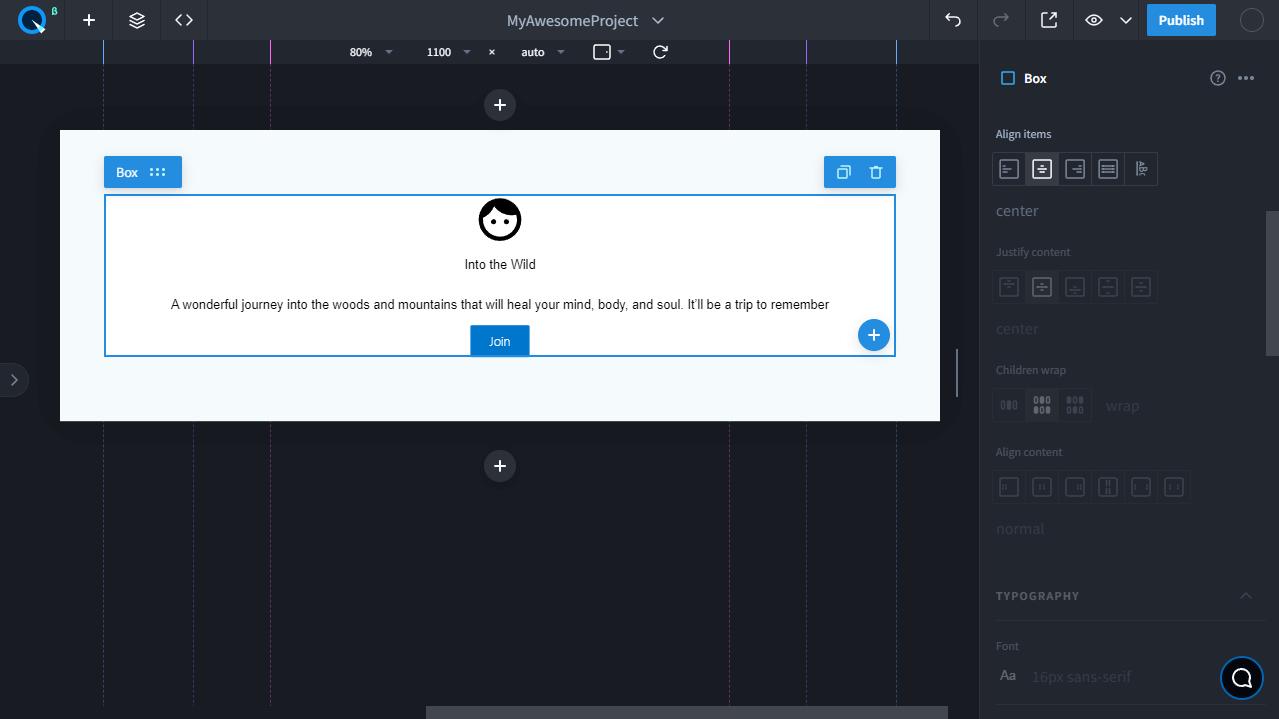
This property defines how the space around the nested elements will be organized along the perpendicular axis of the Flex container.
- By default, the normal value is applied. It aligns the elements to the left side of the browser. Let's set the Align-items prop to the center value as an example.
- As we see in the example, your content is centered based on the vertical axis.
- You can also try other values.
Align content#
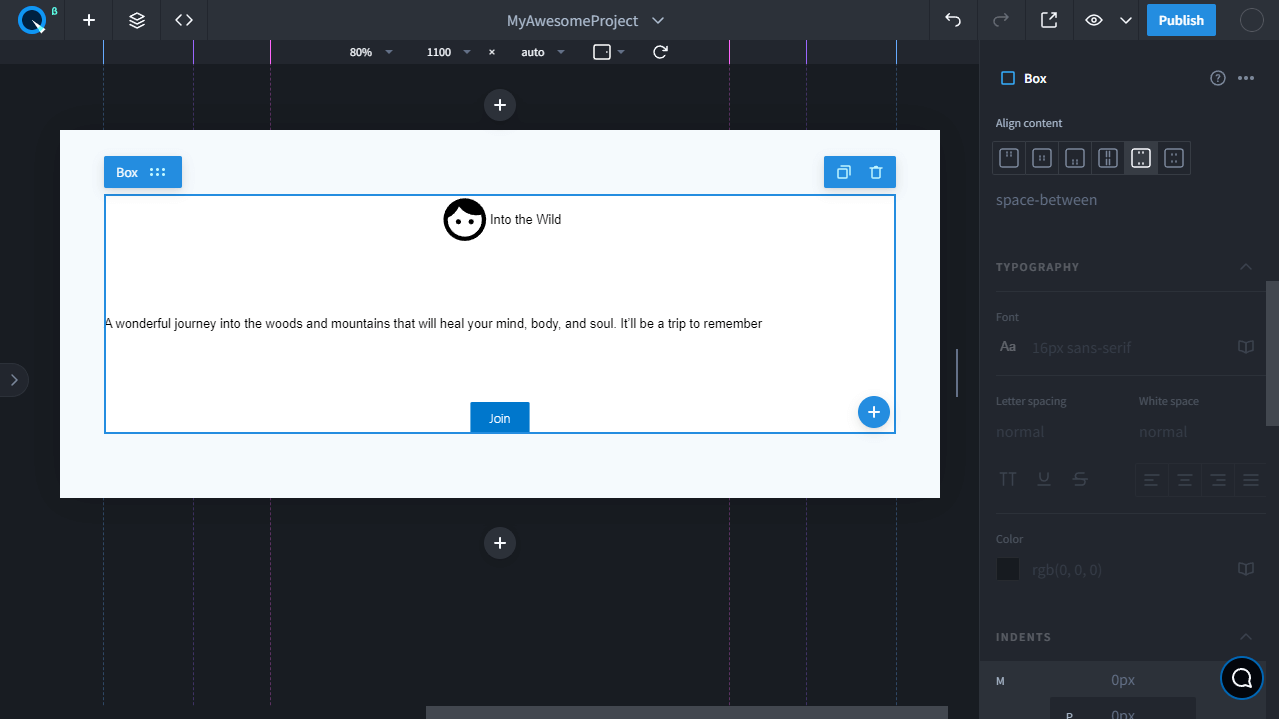
This property defines how the space between the elements will be organized when wrapping (when Children wrap is wrap or wrap-reverse).
- To show how this property works, for the workspace, set the row value for the Direction prop, the wrap value for the Children wrap prop, and the space-between for the Align content prop.
- In this case, there's free space between the elements. The first row of flex elements is aligned to the top edge of the container, the last row — to the bottom edge.
- You can also try other values.
Flex#
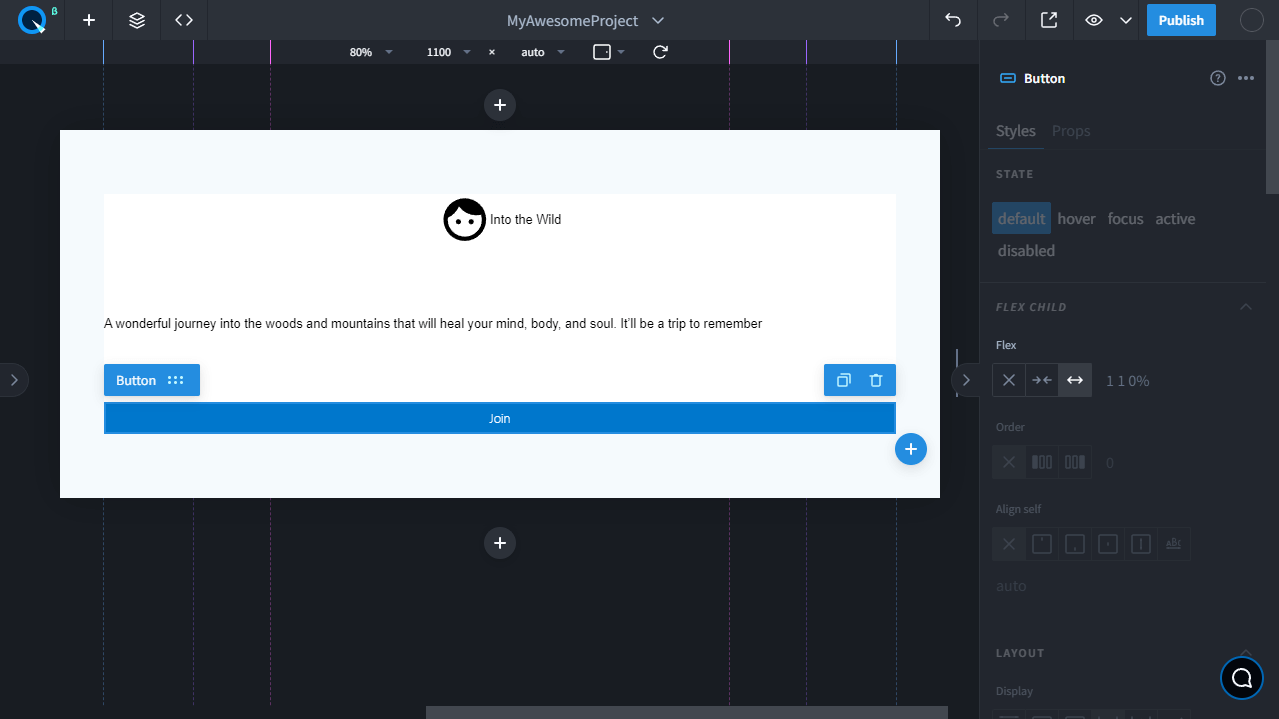
When a parent element has a display flex, its nested elements have the Flex Child property group. Using the Flex property, you can resize the element, stretch, or shrink it to fill the available free space.
- Select the Button element and set it to Grow if possible (1 1 0%).
- With this value, the button took all the available space and stretched to the full width of the container.
note
The Flex group properties have priority over the Width and Height properties.
Order#
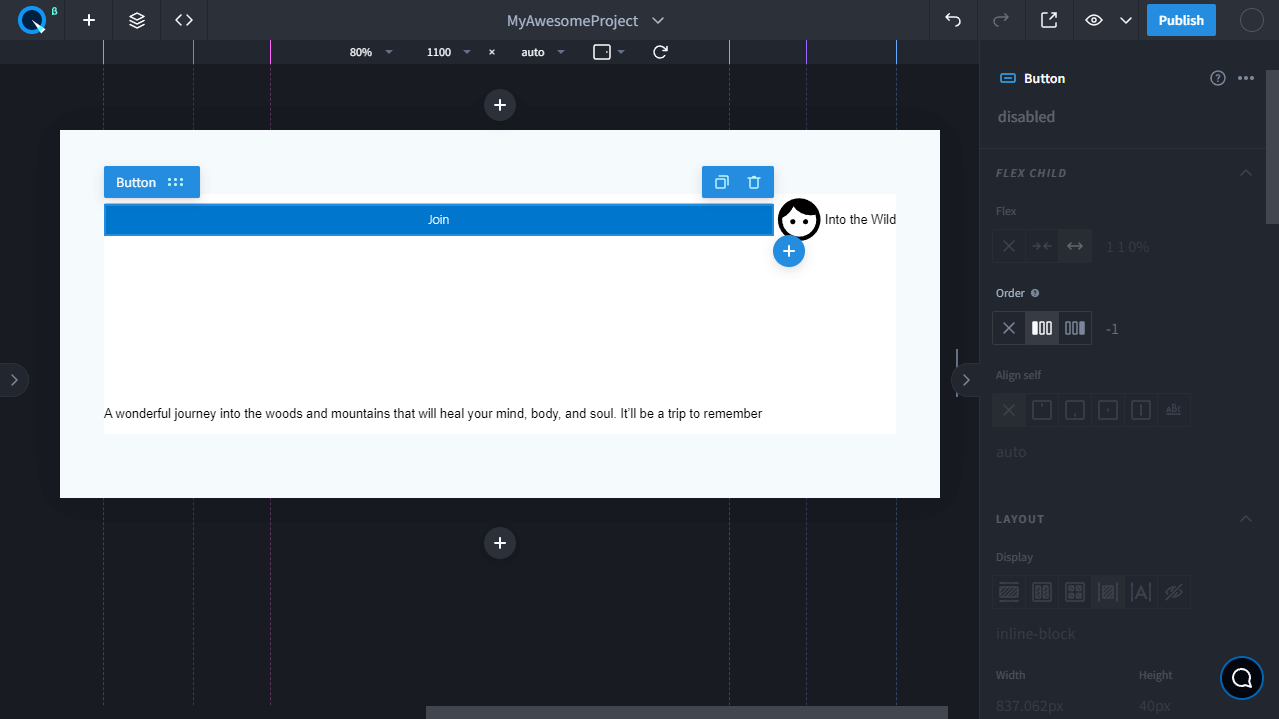
The Order property sets the order of elements in their Flex container.
- Select the Button element and set its value to -1.
- We changed the order of our button — it has become the first element. This way you can change the order by setting the numbers, e.g: 1, 2, 3...
Align self#
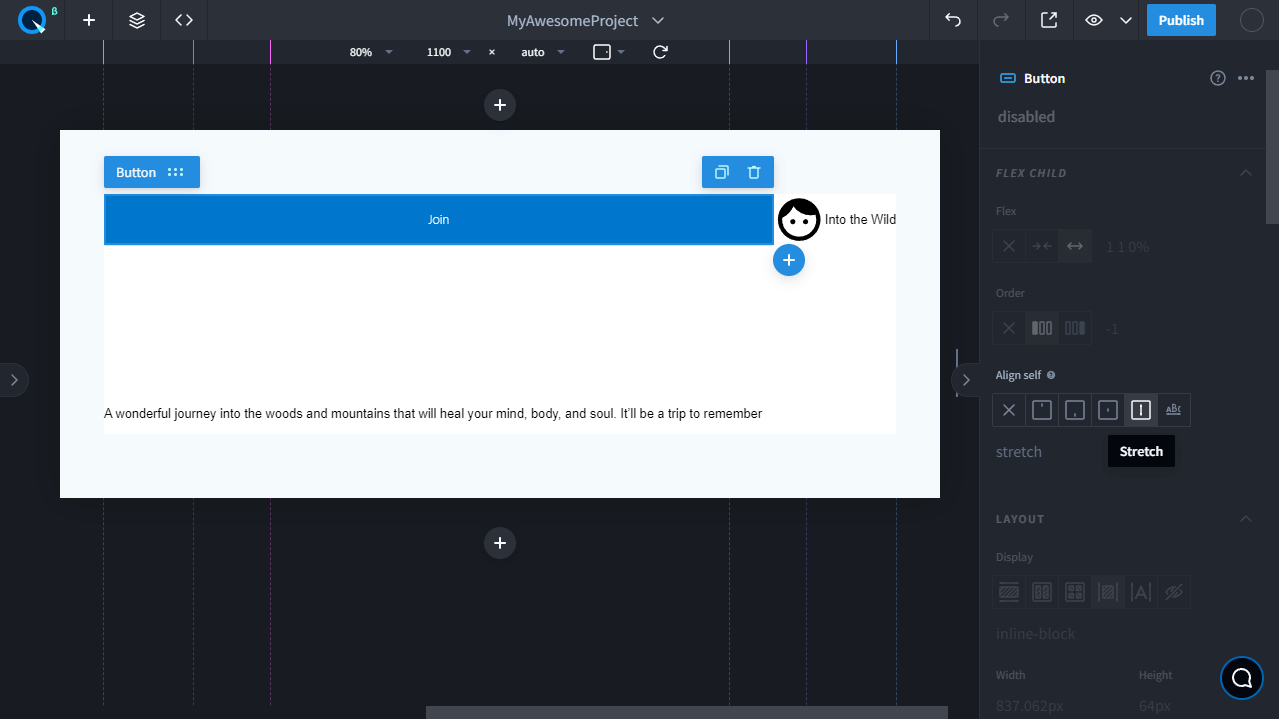
This property allows you to manage the free space inside the current flex line.
- Let's select the third icon as an example and set the end value to the Align self prop.
- Now the icon is aligned to the bottom edge, and the free space is higher.
- You can also try other values.