Getting Started
- After logging in, you will be taken to the Dashboard.

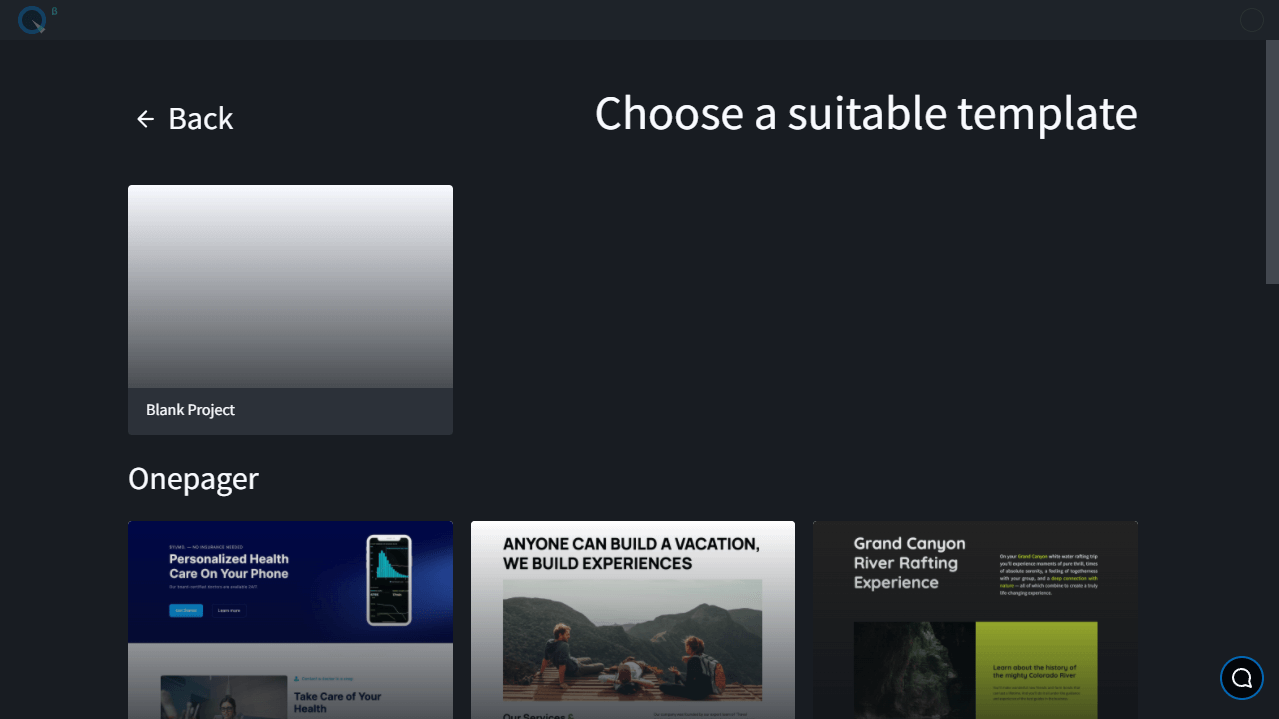
- Create a new Quarkly project. To do this, click on the card with the "+" icon.

- After that you can choose any ready-made template or choose a blank canvas.
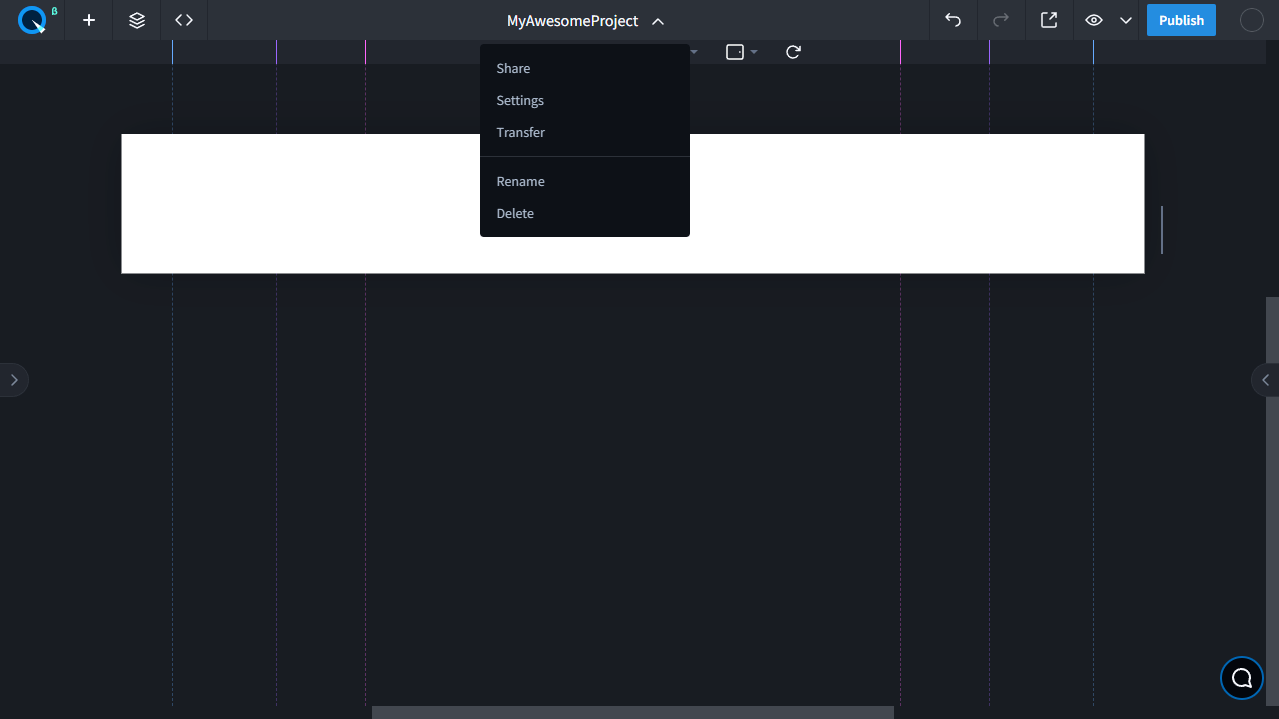
- Now go to the project. To do that, click on it or right click to view the context menu and select "Open".

- You are now in the visual editor interface. To allow other users to access, rename, or delete the project, open its settings.
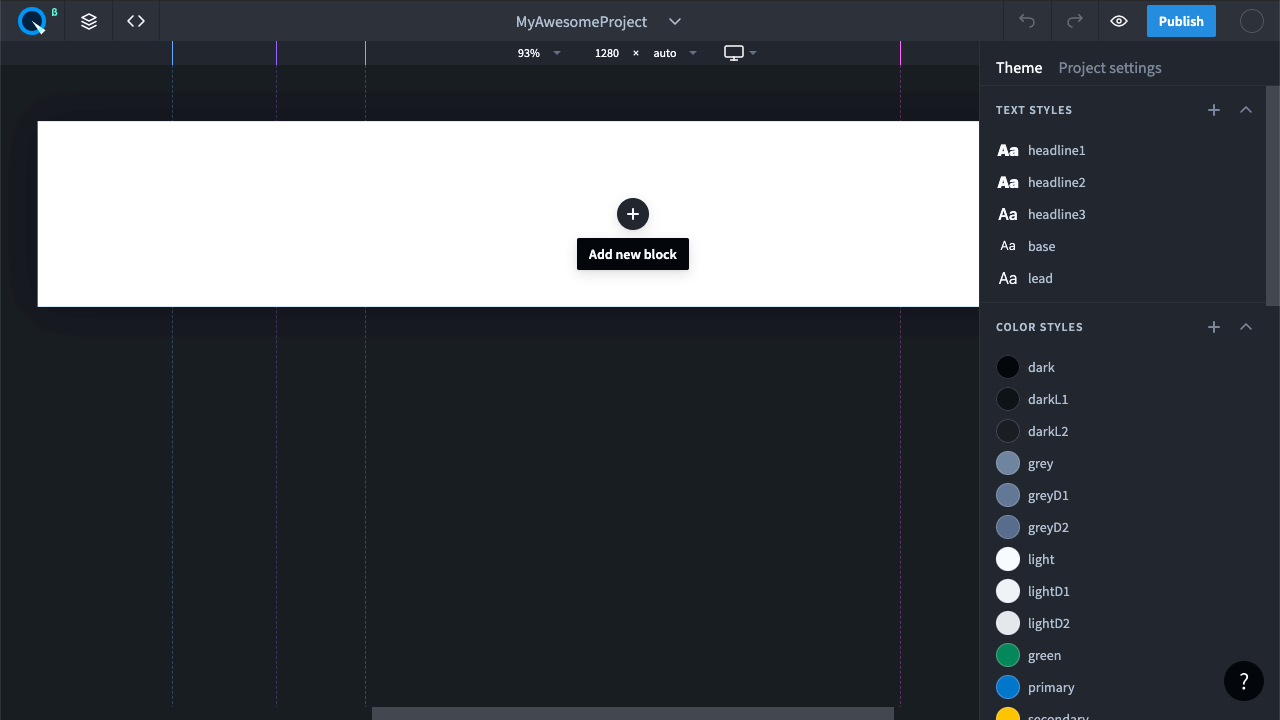
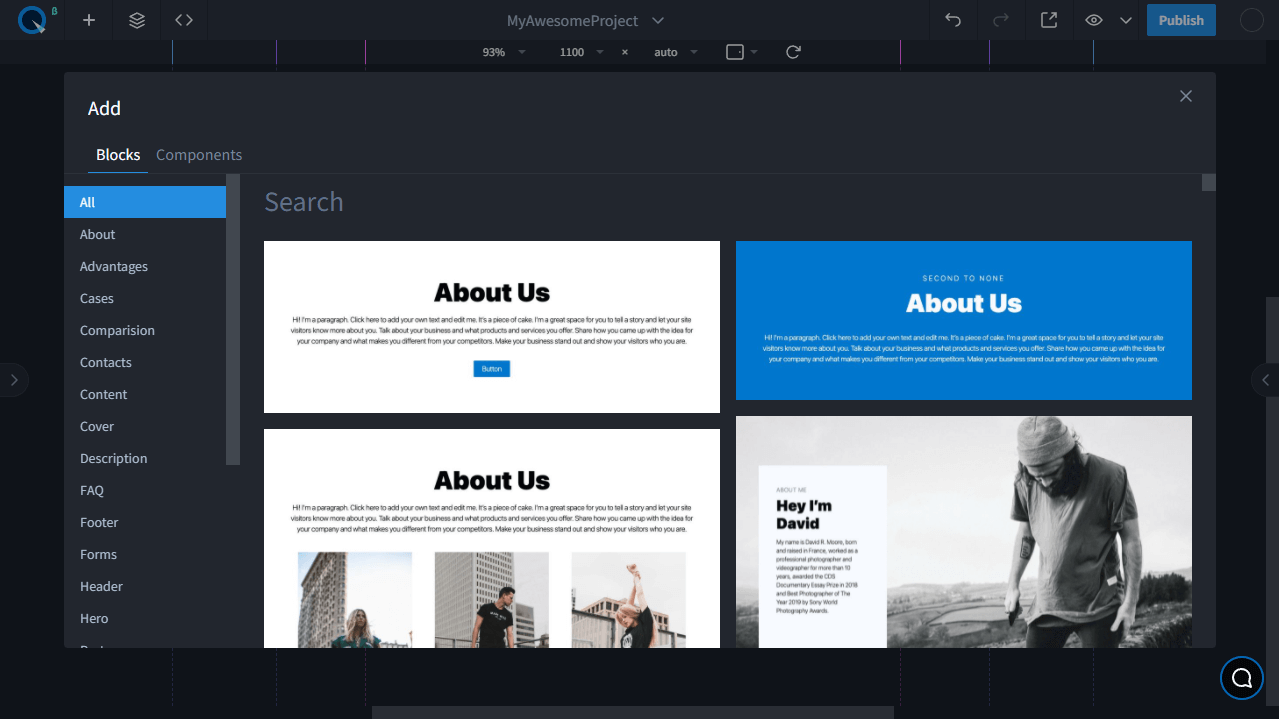
- Add a finished block to the layout by clicking the "+" icon in the center of the page.
- Select the block you like and click on it.
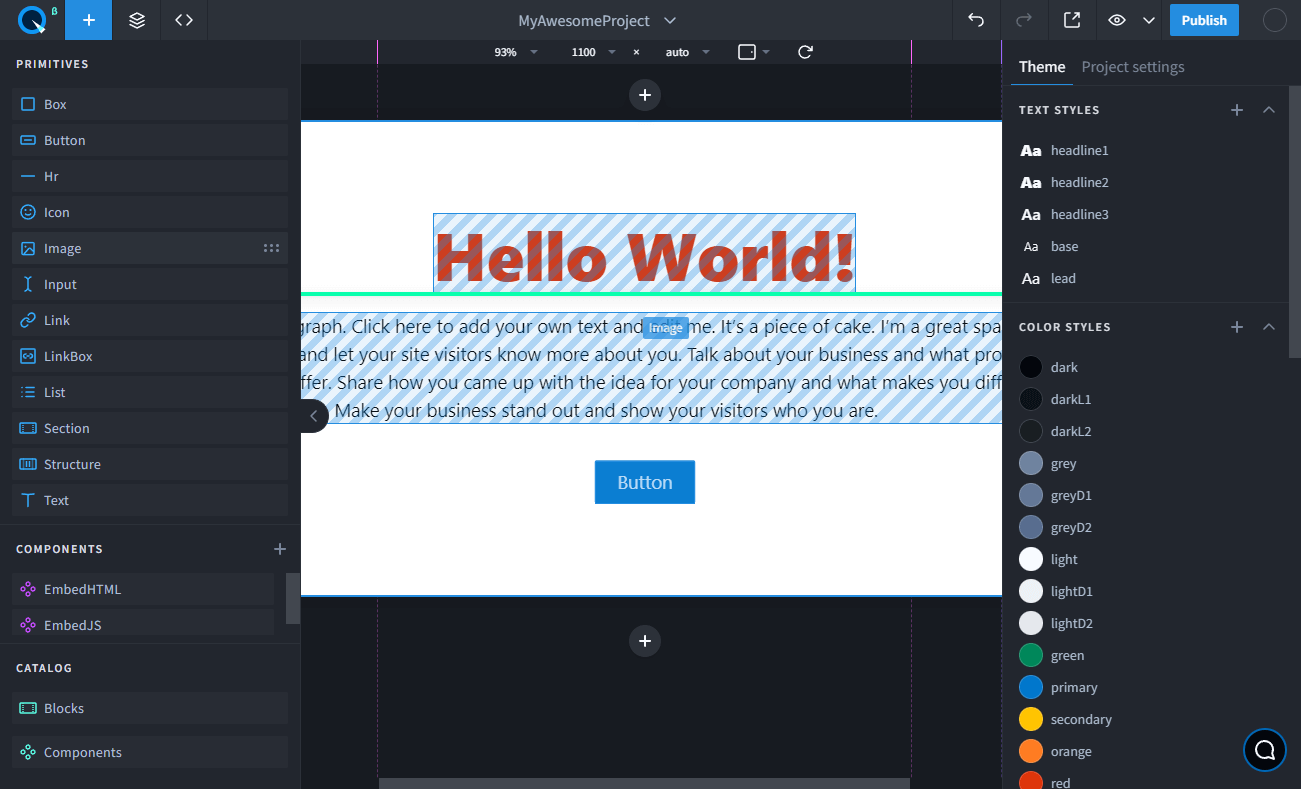
- Now select the text element on the page. Click it while pressing
Ctrl, or⌘(Cmd)on MacOS. This allows you to select elements while ignoring parent ones. You can also select child elements by double-clicking on them.
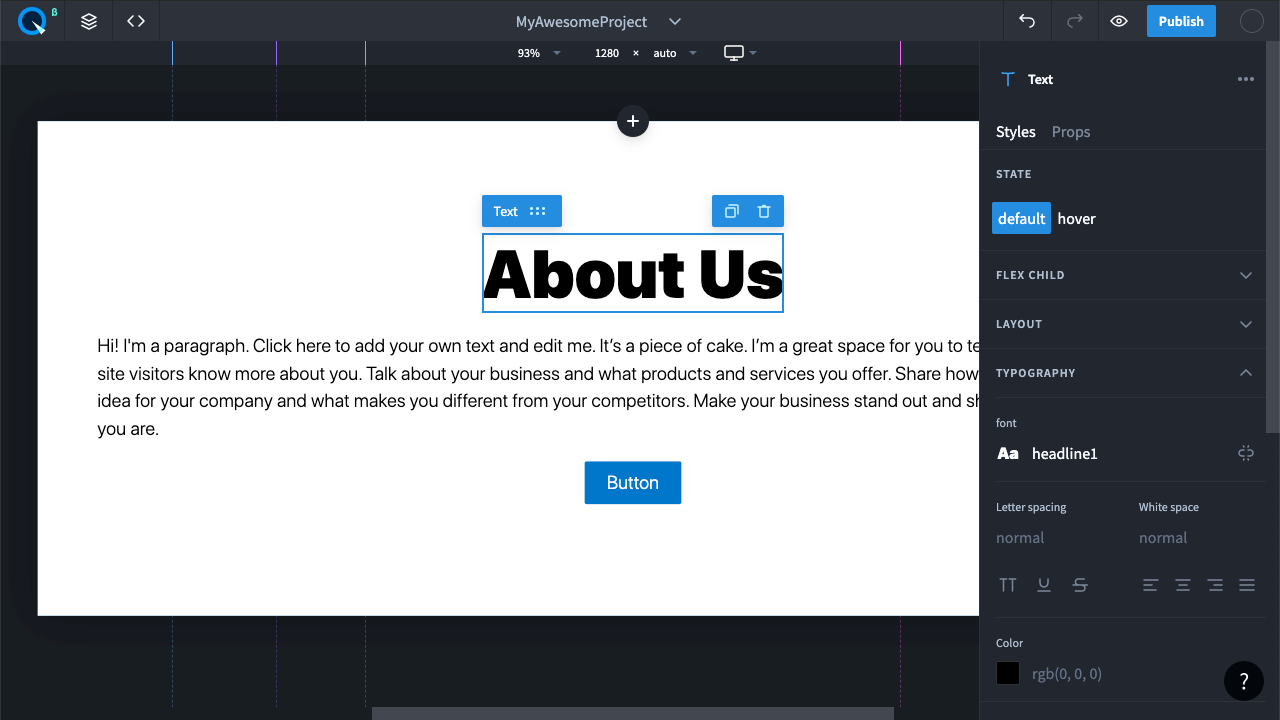
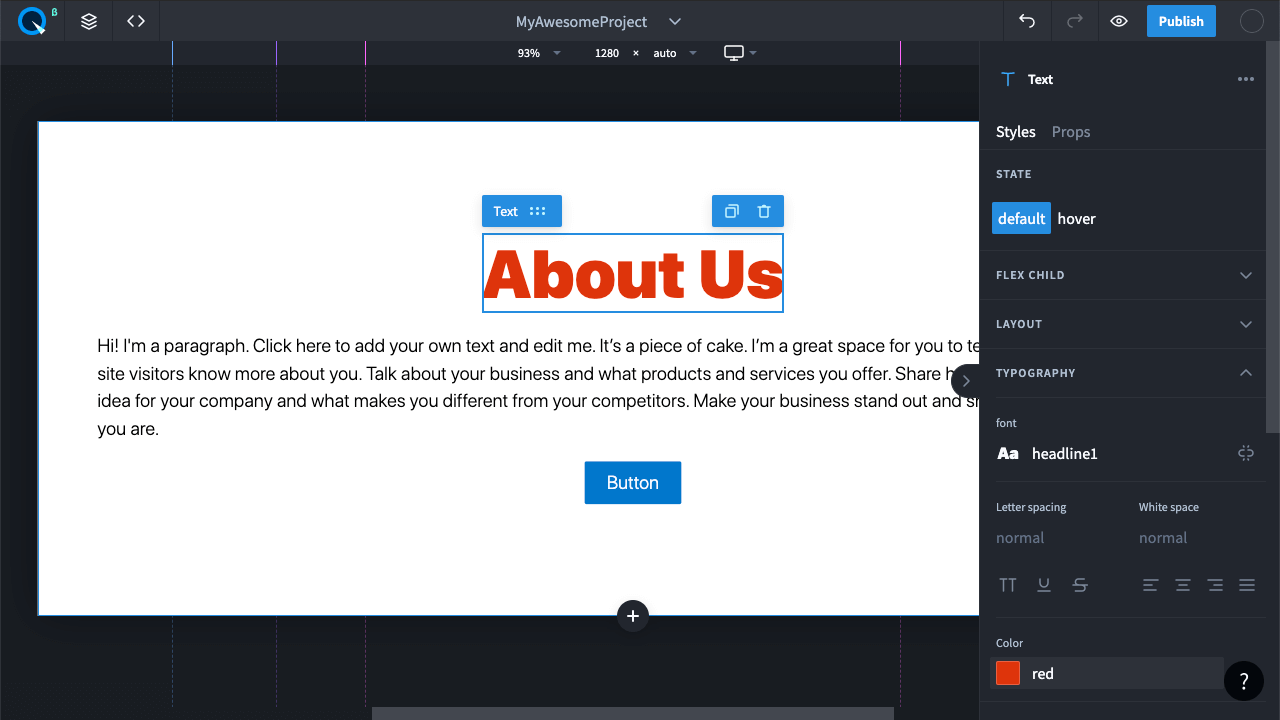
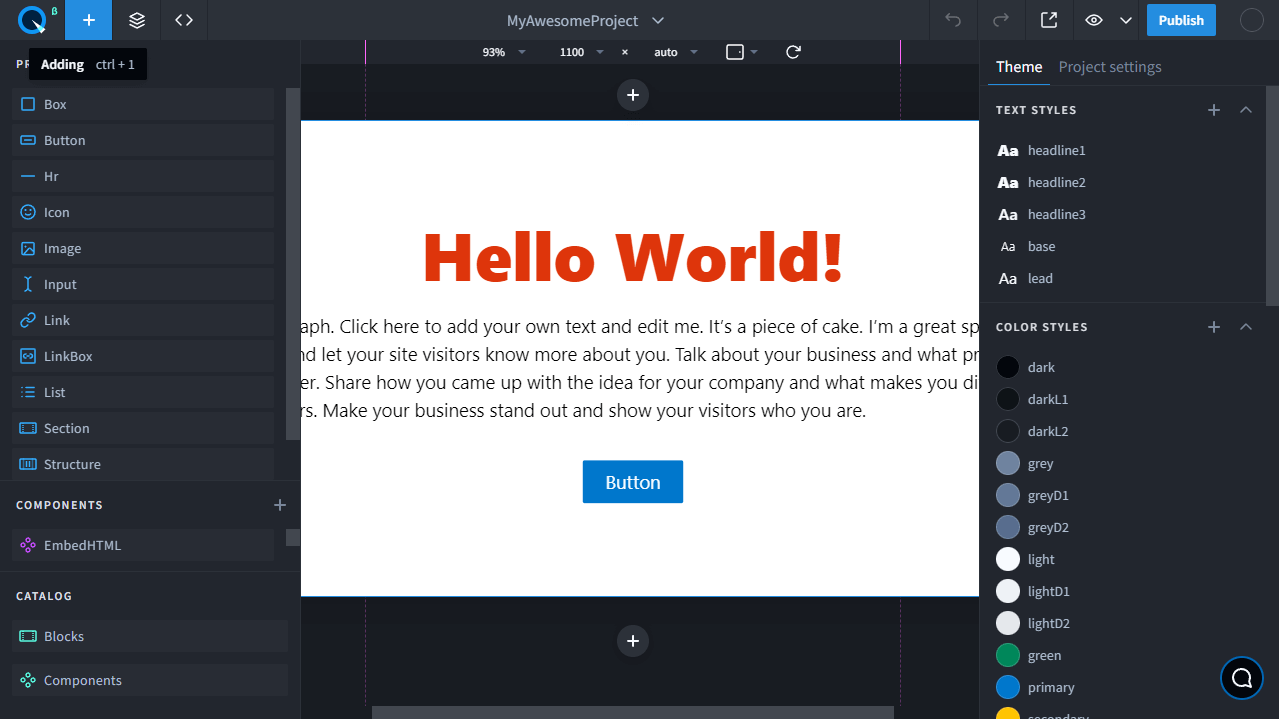
- Change the text color on the right property panel.
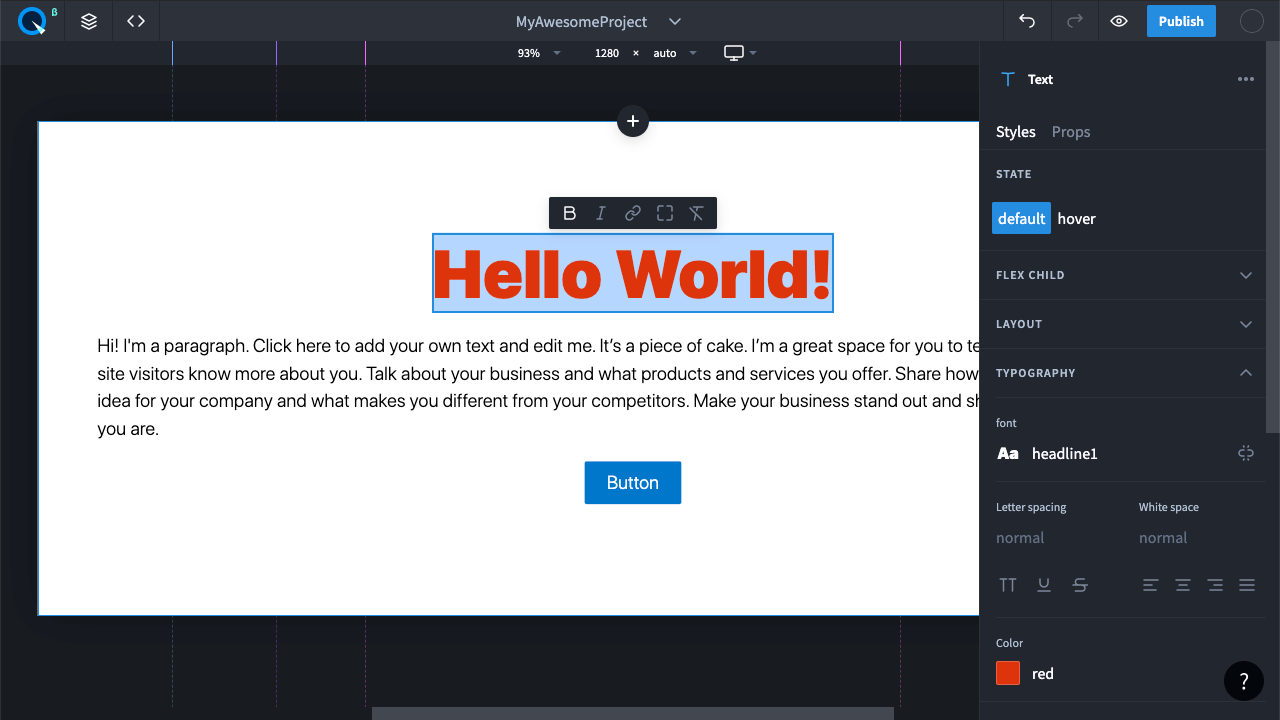
- Edit text. To do this, double-click on the text in the selected element.
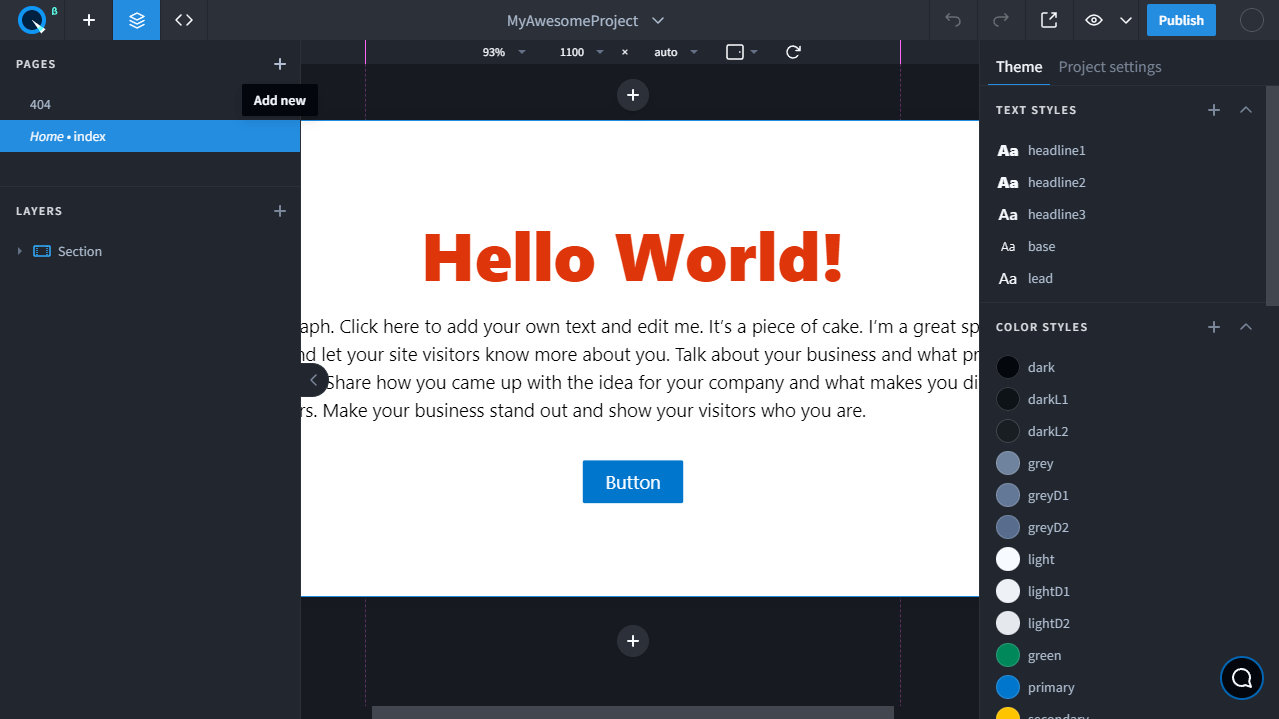
- You can create pages. To do this, open the Pages and Layers panel.
- To add an element, go to the Adding panel. There are both simple and complex components. You can also create custom components.
- Just drag the component to the desired place and it will become part of the page.
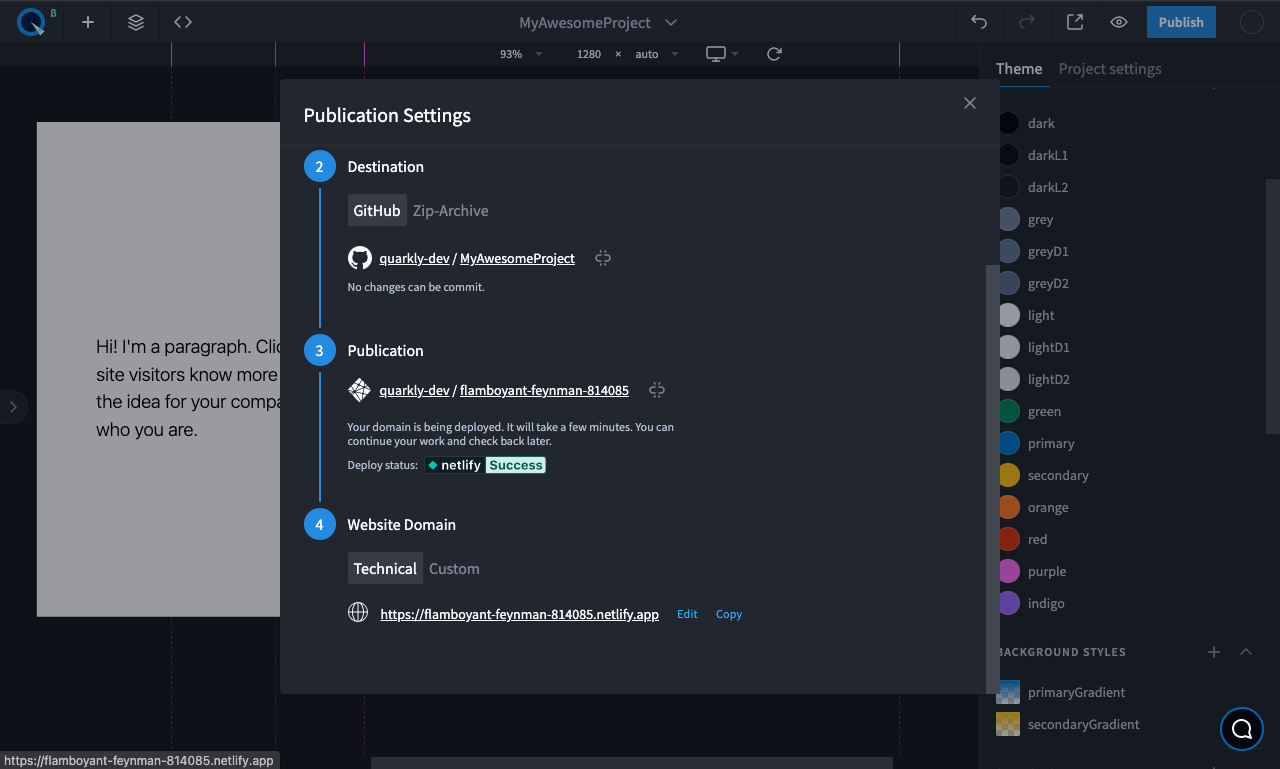
- Publish the project. To start publishing, click "Publish".
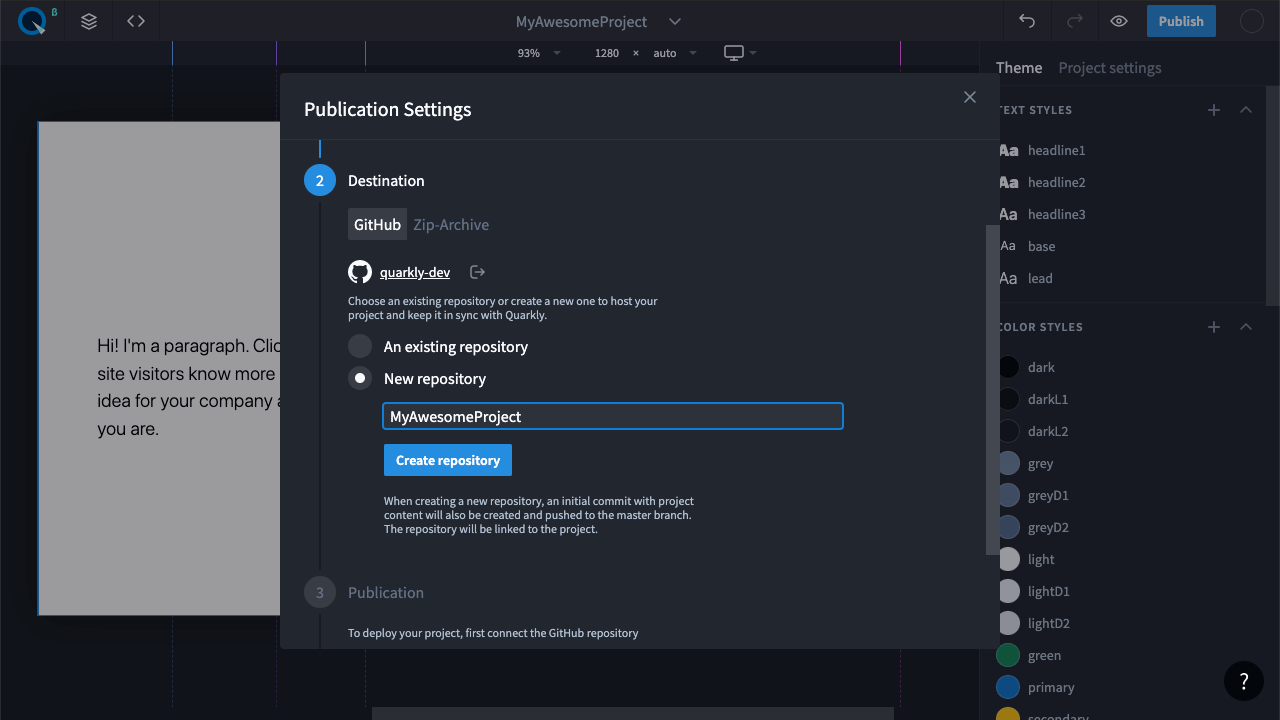
- Connect your GitHub account to export your project to the repository.
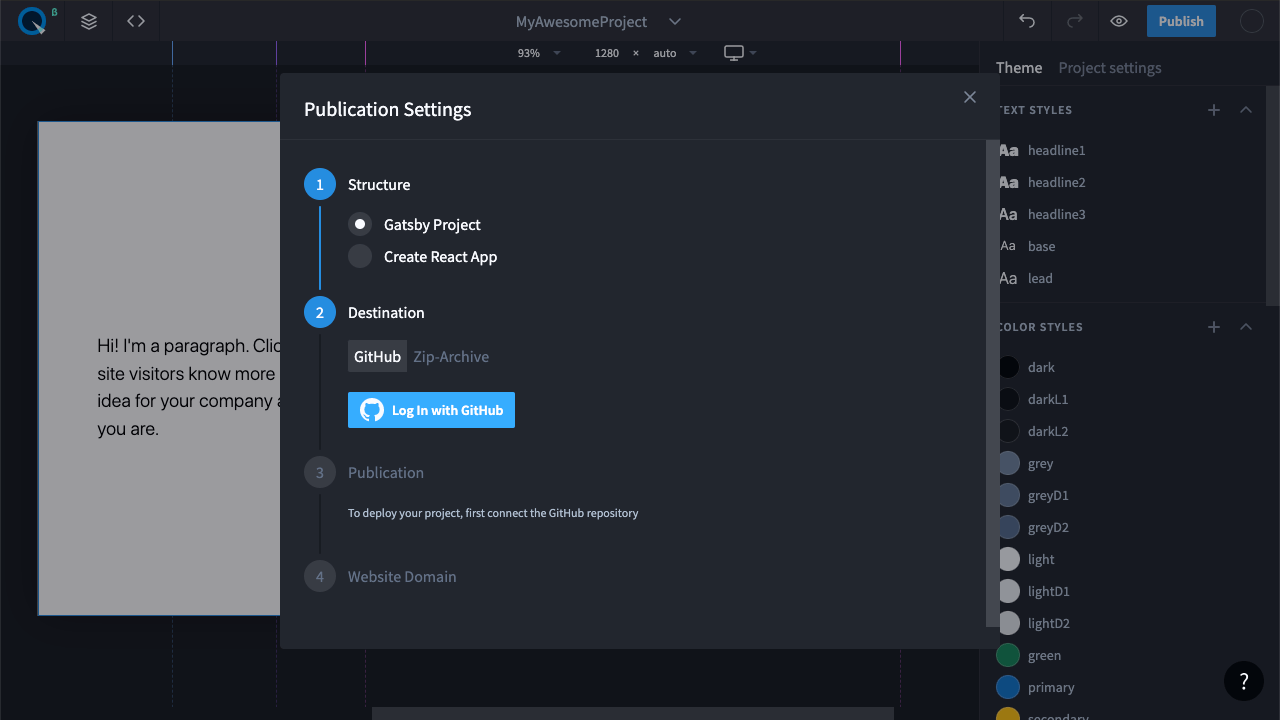
- Select "New repository", enter the name, and click "Create repository".
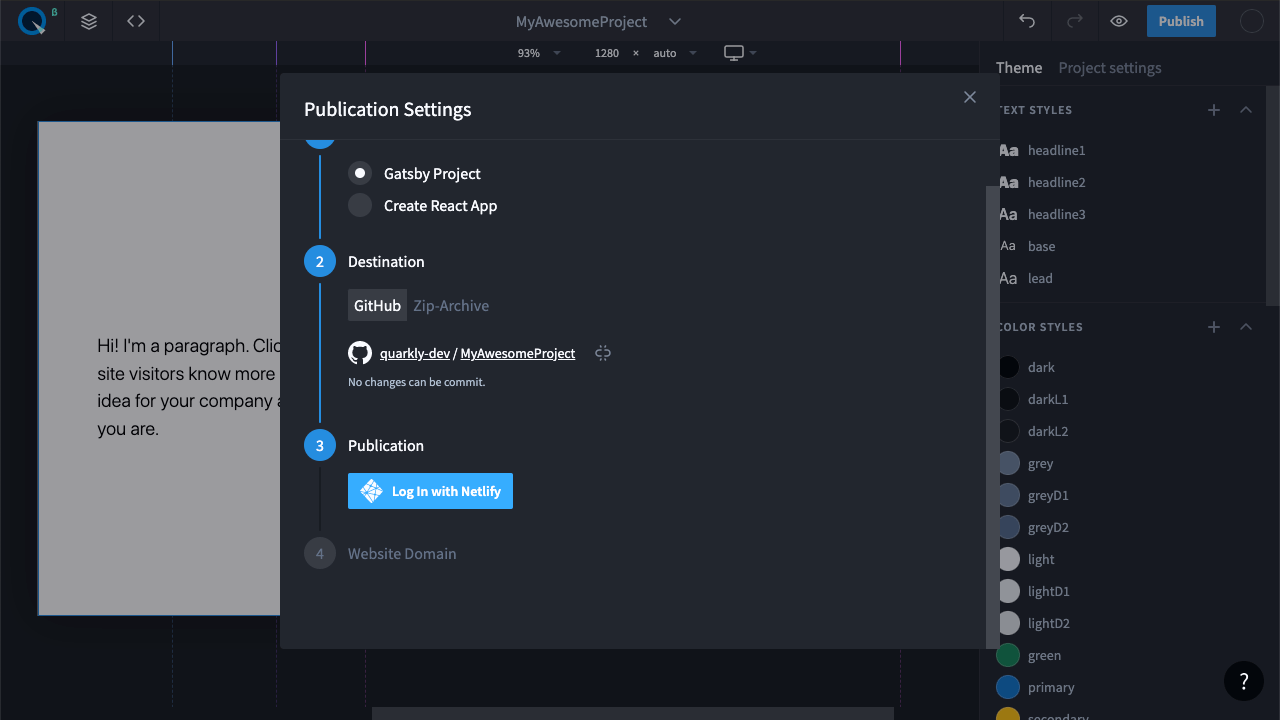
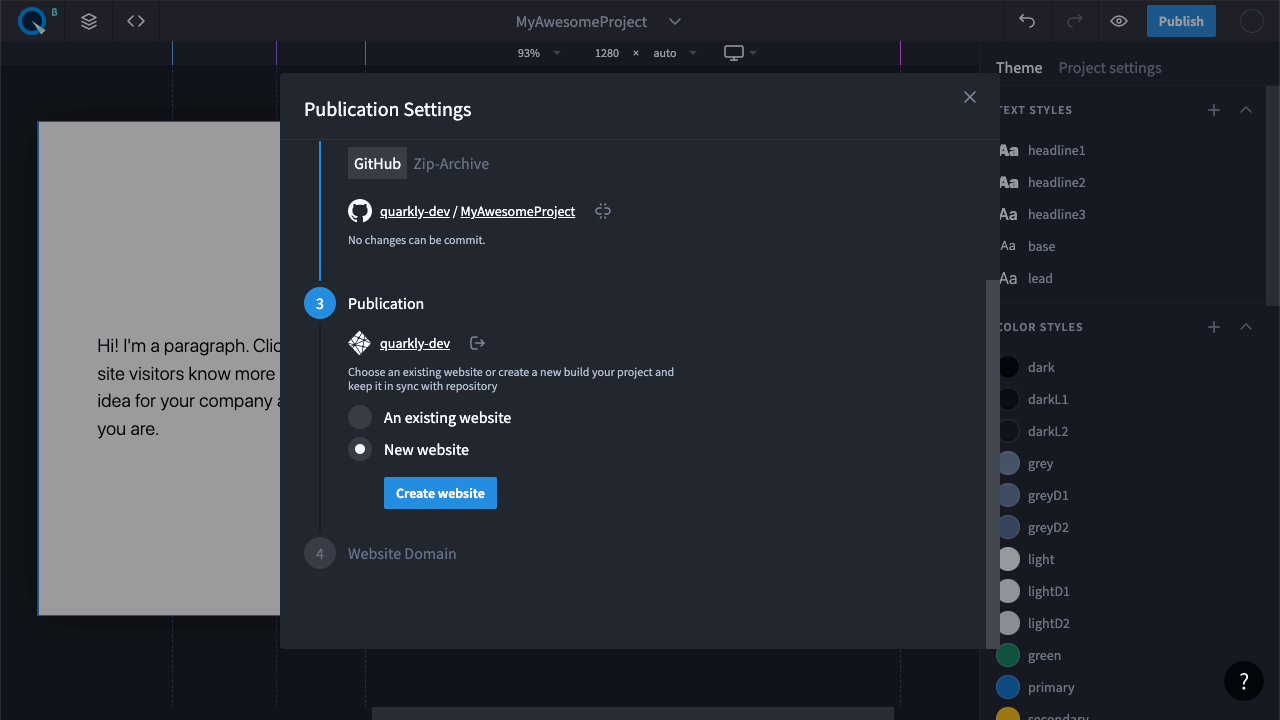
- After connecting the repository, connect your Netlify account.
- Select "New website" and click "Create website".
- The process of project building takes a few minutes. Once the badge changes its status to "Success", the project is published and available via a link.
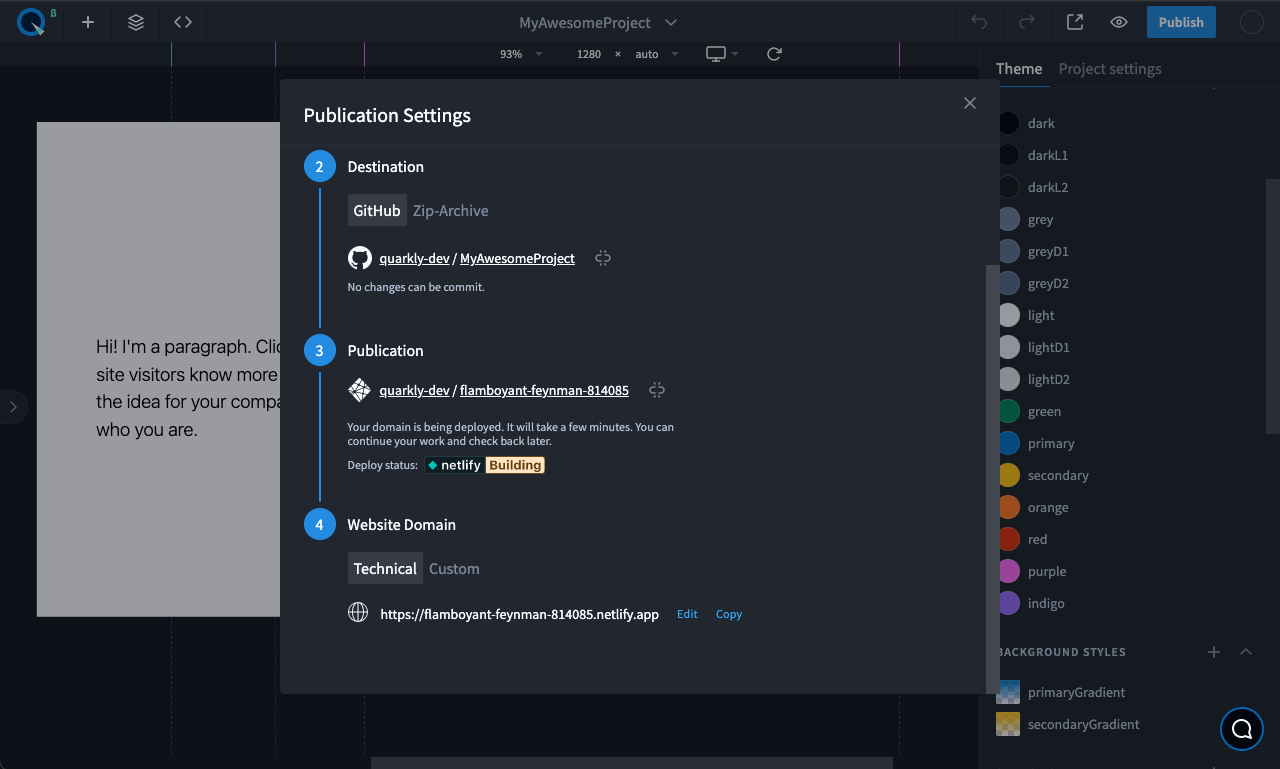
- Click the link to open the published project.
Congrats! You've just created and published your first project on Quarkly!