Day 12. Custom code
Let's continue to explore the general settings of the project and pages. This time, you'll go to the Custom Code tab where you can place tags inside <head> and before the closing </body> tag.
Why do we add code?#
Adding code to the <head> or </body> of the page comes in handy when you need to add a Google Analytics script, or include a font or styles file, or add CSS to the whole project, and in other similar cases.
Custom code in <head> and before </body>#
On all pages
As an example, on all pages, let's set a meta tag that will hide your site from search results. It should look like this:<meta name="robots" content="noindex, nofollow" />To add this kind of tag, in the Custom Code tab, click the "+" button and choose<meta>from the dropdown list. After that, give it any name you want, for example: NoIndex. A tab with several fields will open and you need the name and content fields based on the task.Add the robots value in the name field and the noindex, nofollow values in the content field. As a result, you'll have:
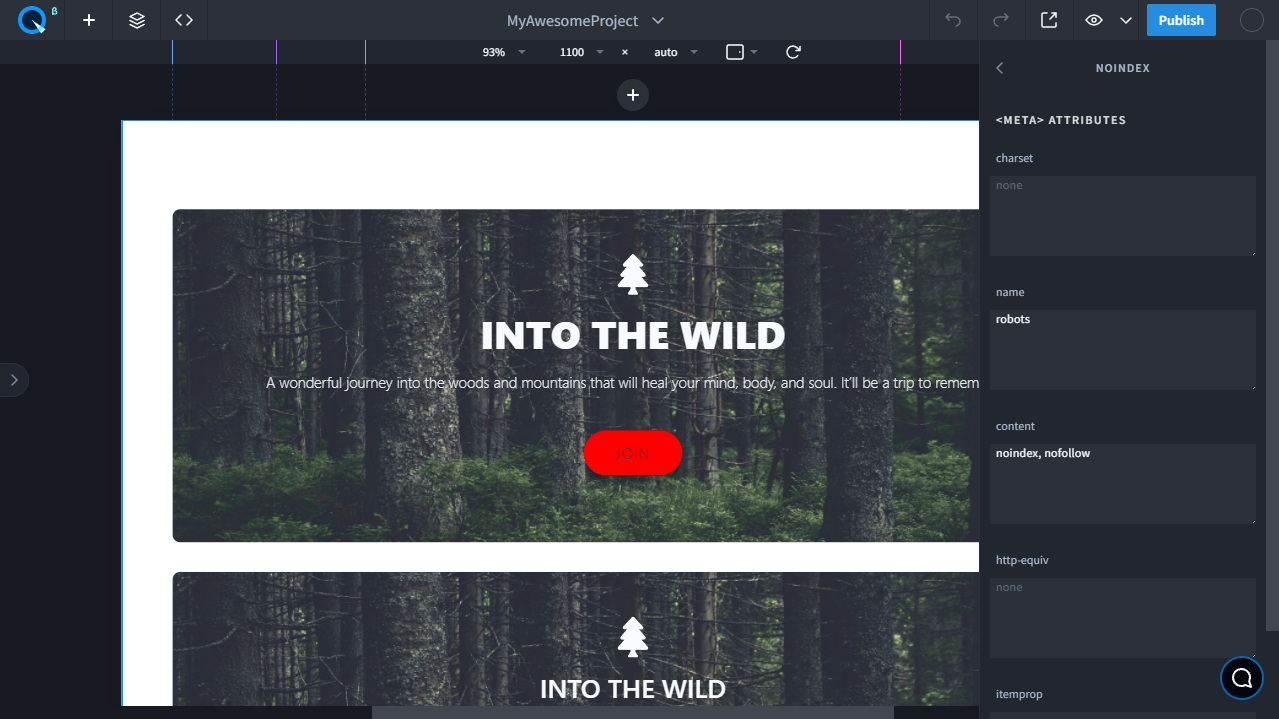
Done. Now click on any area of the site and the changes will be saved automatically. Now when you publish the site, this meta tag will be displayed on all site pages in
<head>.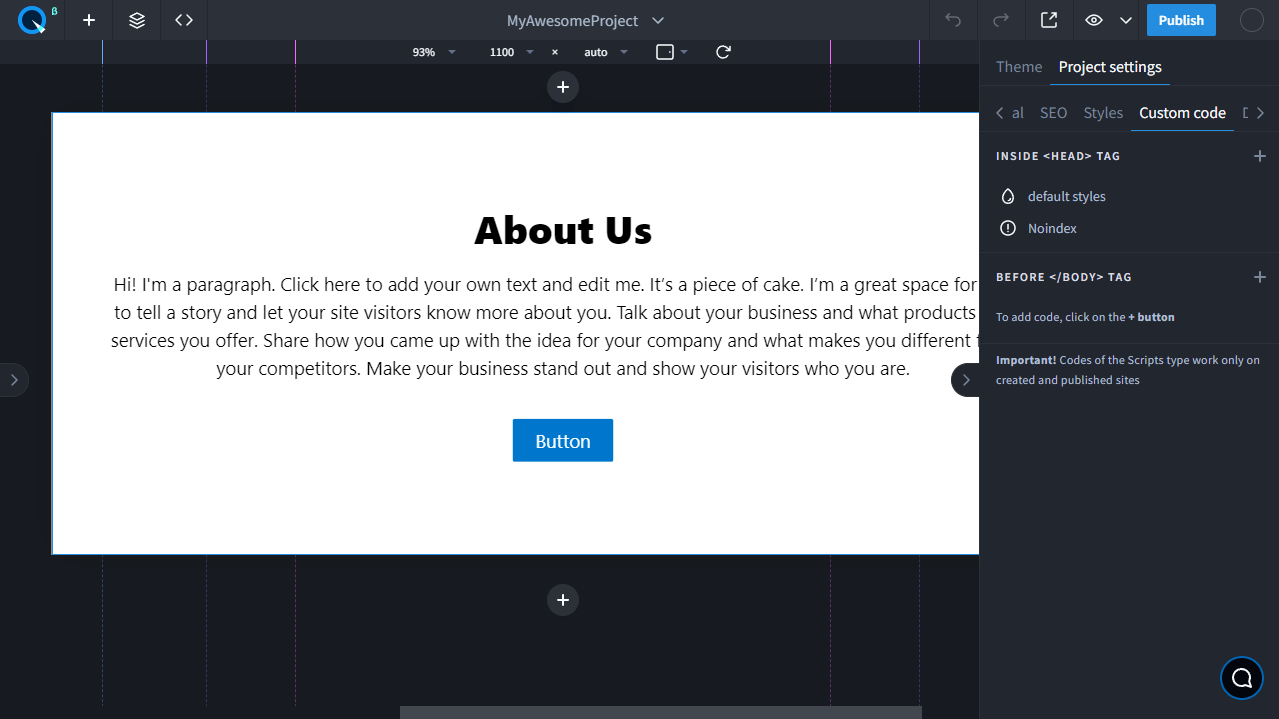
Tags that can be added inside the head:
<Script><Link><Meta><Style>
Tags that can be added to the end of the body:
<Script><Link><Style>
On a specific page You can also place code for a specific page. As an example, let's place the canonical attribute:
<link rel=“canonical” href=“https://example.com/sample-page/” />This is what each part of this code means in plain English:
link rel=“canonical”: the link in this tag is the main (canonical) version of the page.href=“https://example.com/sample-page/”: the canonical version can be found at this URL.
As an example, let's create an About page and go to its settings:
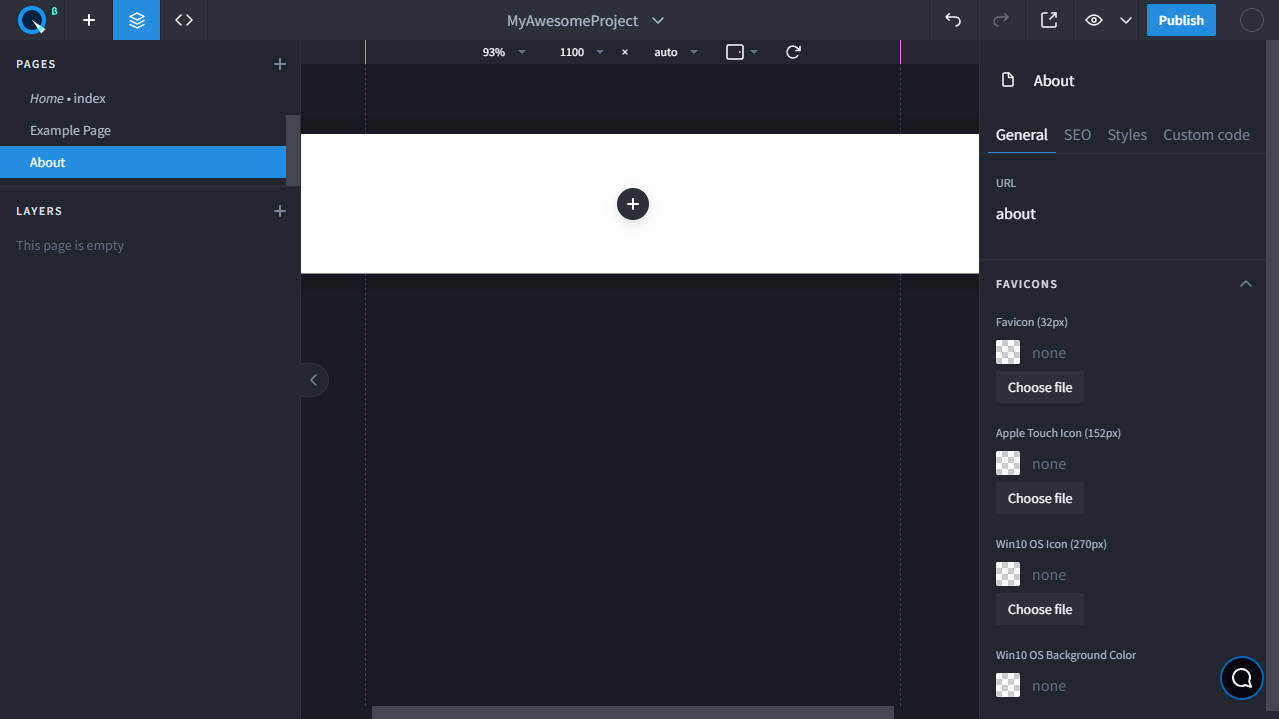
In the page settings, you can see that the user-friendly page URL is formed as "about". Make a note of this.
Now go to the Custom Code tab. Click on the "+" icon next to the Inside
<head>tag title and choose<link>from the dropdown list. Name the code as Canonical and fields to fill in open.
In rel, set the canonical value, and in href — the user-friendly URL of the page, ie: /about/
The final result will look like this:
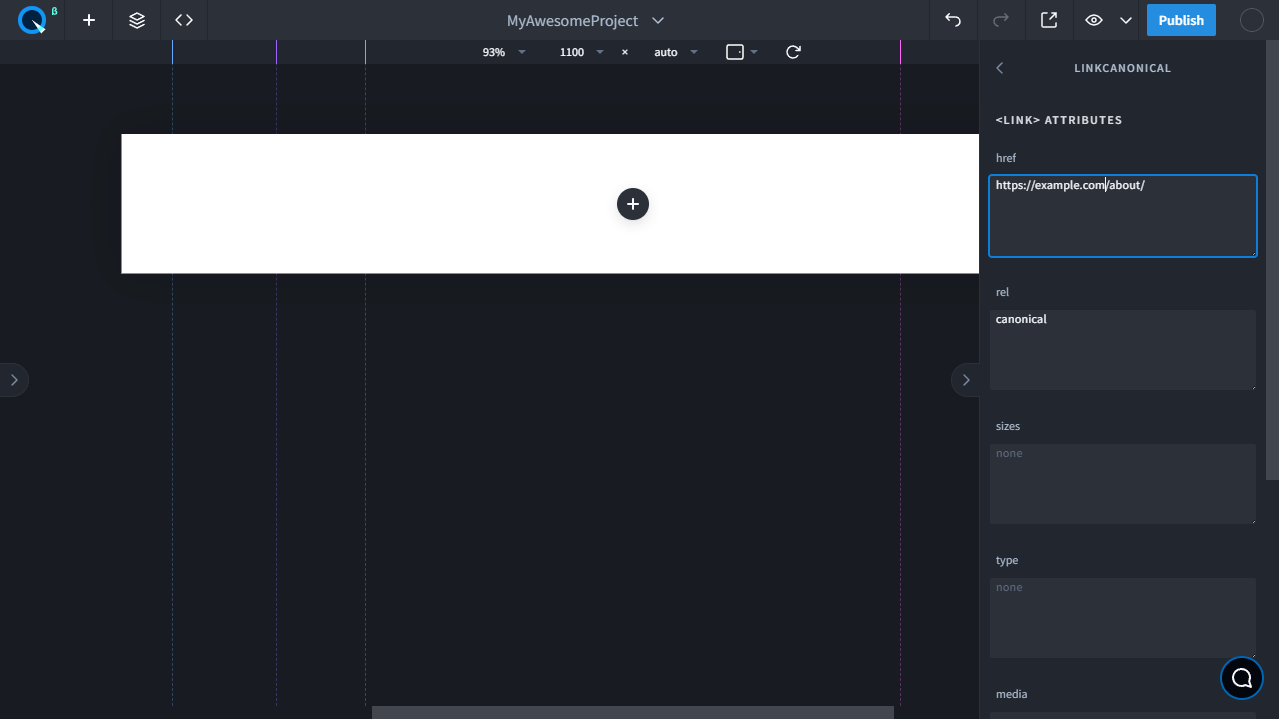
Аfter publishing this page, an attribute will be added to it that will look like this:
<link rel=“canonical” href=“https://example.com/about/” />
Custom code in a specific place on the page#
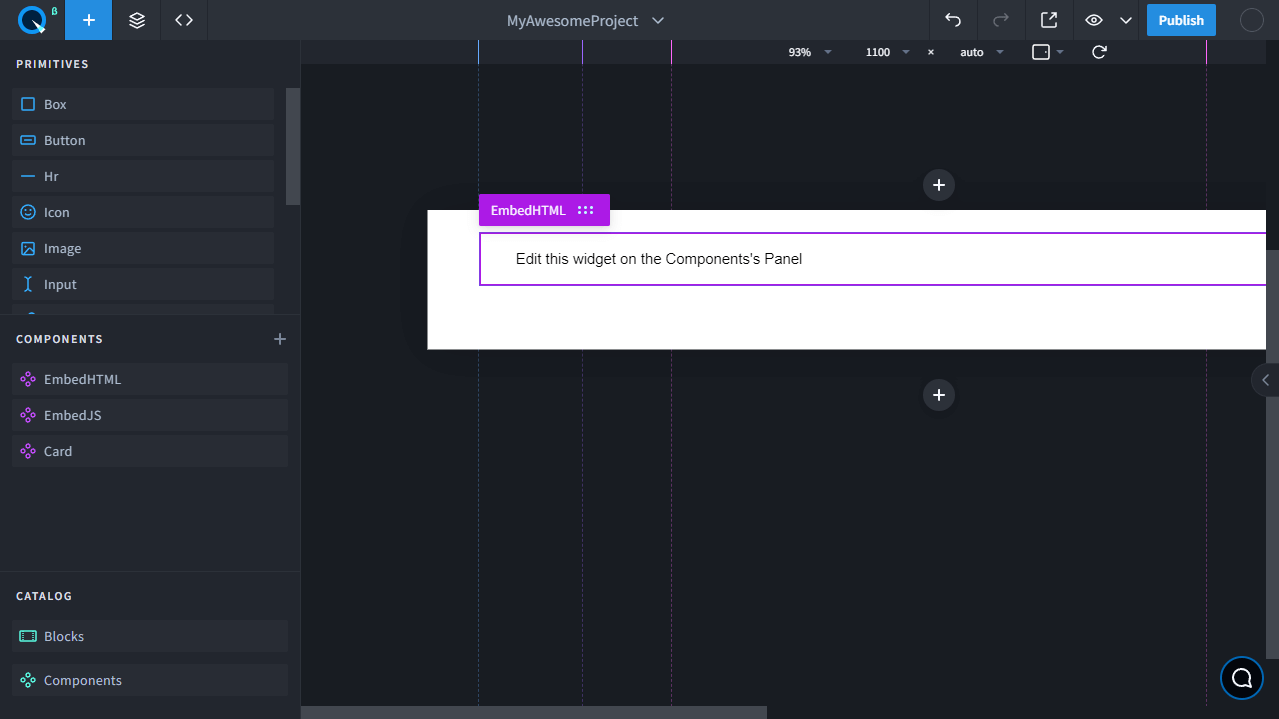
Default EmbedHTML and EmbedJS components
Basic components in Quarkly are made in React.js. But if you need to embed your HTML or JS code in a page, you can use the standard EmbedHTML and EmbedJS components: